Gear Manufacturing
Introduction
Gear manufacturing is a critical technology in the progression from basic mechanical components to complex machinery. Gears are toothed mechanical components that mesh with each other to transmit rotational motion and power between shafts. They are fundamental to creating mechanical advantage, changing the direction of rotation, and altering speed and torque in mechanical systems.
This guide provides practical instructions for manufacturing functional gears using technologies available in earlier tiers of technological development. By following these steps, you can create gears that will serve as the foundation for more complex mechanical systems.
Materials Needed
- Metal stock - Preferably medium-carbon steel (0.3-0.6% carbon) or bronze for durability
- Forge - Capable of reaching temperatures of 1000-1200°C (1832-2192°F)
- Anvil - For shaping and working the metal
- Hammers - Various sizes for different forging operations
- Tongs - For handling hot metal
- Files - For finishing and refining gear teeth
- Chisels - For cutting and shaping metal
- Dividers and calipers - For measuring and marking
- Templates - Created based on gear design calculations
- Quenching medium - Water or oil for heat treatment
- Grinding stones - For finishing surfaces
Process Overview
Manufacturing gears in a primitive setting involves several key stages:
- Material selection and preparation
- Blank creation
- Tooth layout and marking
- Tooth formation
- Heat treatment
- Finishing and testing
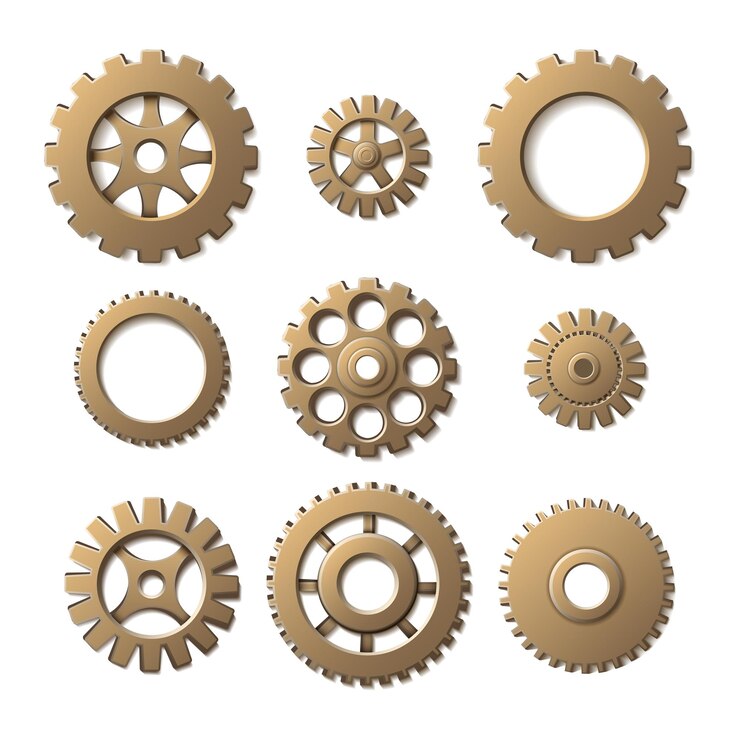
Various gear designs showing different tooth patterns and configurations. While these are wooden examples, similar principles apply to metal gear manufacturing.
1. Identifying and Gathering Raw Materials
The choice of material for your gears will significantly impact their performance and durability. In a rebuilding civilization context, you have several options:
Metal Selection
- Medium-carbon steel (0.3-0.6% carbon) - Ideal for most gears due to its balance of strength, wear resistance, and machinability
- Can be produced using the Steel Manufacturing Processes
- Provides good wear resistance and strength after proper heat treatment
- Bronze (copper-tin alloy) - Excellent alternative when steel is unavailable
- Created through Metal Smelting processes
- Provides good wear properties and is easier to cast than steel
- Self-lubricating properties make it suitable for applications with limited lubrication
- Brass (copper-zinc alloy) - Suitable for lighter-duty gears
- Created through Metal Smelting processes
- Easier to work with but less durable than steel or bronze
2. Creating the Gear Blank
The gear blank is the disk-shaped piece of metal that will be transformed into a gear.
Forging Method
- Heat your metal stock in the forge until it reaches a bright orange-red color (approximately 1000-1100°C for steel)
- Transfer to the anvil using tongs
- Hammer the stock into a rough circular shape
- Use a punch to create a center hole for the shaft
- Continue hammering to refine the circular shape
- Periodically check the diameter using calipers
- Once the approximate diameter is achieved, allow the blank to cool slowly
Alternative: Casting Method
If you have mastered Metal Smelting and have appropriate molds:
- Create a sand mold in the shape of a disk with the approximate dimensions of your gear
- Include a center hole for the shaft
- Melt your metal in a crucible
- Pour the molten metal into the mold
- Allow to cool completely before removing
- Clean and prepare the surface for tooth cutting
3. Layout and Marking
Precise layout is critical for functional gears. This step translates your Gear Design calculations into physical markings.
- Ensure the gear blank is as perfectly circular as possible
- Find and mark the exact center of the blank
- Enlarge the center hole to the exact shaft diameter using files or a primitive drill
- Using dividers set to the calculated pitch radius, draw the pitch circle
- Divide the pitch circle into equal segments based on your tooth count:
- Set dividers to chord length = (pitch circle circumference) ÷ (number of teeth)
- Walk the dividers around the pitch circle, marking each point
- Draw radial lines from the center through each division point
- Mark the addendum (outer) and dedendum (inner) circles based on your gear design calculations
4. Tooth Formation
Creating the gear teeth is the most critical and challenging part of gear manufacturing.
Method 1: Filing
- Secure the gear blank to prevent movement
- Using your layout marks as guides, begin removing material between tooth marks using files
- Work slowly and check your progress frequently against templates
- Form each tooth to match the involute profile from your Gear Design
- Ensure consistent tooth depth and profile across all teeth
Method 2: Chiseling and Filing
- Secure the gear blank firmly
- Use a sharp chisel to remove the bulk of material between tooth marks
- Make initial cuts along the radial lines marking tooth boundaries
- Remove material to rough out the tooth spaces
- Refine the tooth profiles using files
- Check frequently against templates
Method 3: Primitive Hobbing
For more advanced settlements with Water Powered Mill technology:
- Create a hardened steel cutting tool shaped like the space between gear teeth
- Mount the gear blank on a rotating shaft
- Set up a mechanism to move the cutting tool across the blank while it rotates
- Carefully cut each tooth space in sequence
- This method produces more consistent results but requires more complex setup
5. Heat Treatment
Proper heat treatment significantly improves gear durability and performance.
For Steel Gears
- Heat the gear to a bright cherry red (approximately 760-790°C)
- Hold at this temperature for 15-30 minutes depending on thickness
- Quench in water or oil (oil produces less distortion but slower cooling)
- Temper the gear by reheating to 180-300°C (lower for harder, higher for tougher)
- Hold at tempering temperature for 1-2 hours
- Allow to cool slowly in air
For Bronze or Brass Gears
- Work hardening may be sufficient for these materials
- If annealing is needed to relieve stress:
- Heat to a dull red color
- Allow to cool slowly by burying in sand or ash
6. Finishing and Testing
The final steps ensure your gear will function properly in mechanical systems.
Finishing
- File any rough edges or inconsistencies in the tooth profiles
- Smooth the gear faces to ensure proper meshing
- Check and refine the center hole to ensure proper fit on the shaft
- Remove any burrs or sharp edges that could cause wear
Testing
- Mount the gear on a shaft with appropriate bearings
- Test mesh with a mating gear
- Check for:
- Smooth rotation without binding
- Consistent tooth contact
- Proper backlash (small amount of play between teeth)
- No interference between teeth
- Make adjustments as needed by additional filing
Advanced Techniques
As your civilization advances, consider these improvements to gear manufacturing:
- Template-guided cutting - Create hardened steel templates for more consistent tooth profiles
- Indexing devices - Mechanical aids to ensure precise tooth spacing
- Specialized cutting tools - Develop tools specifically shaped for gear tooth profiles
- Gear cutting attachments - Additions to your Water Powered Mill for semi-automated gear cutting
Troubleshooting
| Problem | Possible Cause | Solution |
|---|---|---|
| Gears bind when rotating | Tooth profiles incorrect | Refine tooth profiles with files |
| Excessive noise during operation | Inconsistent tooth spacing | Check and adjust tooth spacing |
| Rapid wear of gear teeth | Improper heat treatment | Reheat treat with correct parameters |
| Gear slippage | Insufficient tooth depth | Deepen tooth cuts if material allows |
| Gear wobble | Off-center mounting hole | Create new gear with more precise center |
Conclusion
Gear manufacturing is a transformative technology that enables the creation of complex mechanical systems. While the process described here is labor-intensive, it provides the foundation for advancing to more sophisticated manufacturing techniques. As you master gear manufacturing, you'll be able to create increasingly complex mechanical devices, eventually leading to the development of machines that can automate the gear-making process itself.
The next logical technologies to pursue are Gear Cutting Processes and Gear Train Design, which will allow you to create more complex and precise gear systems.